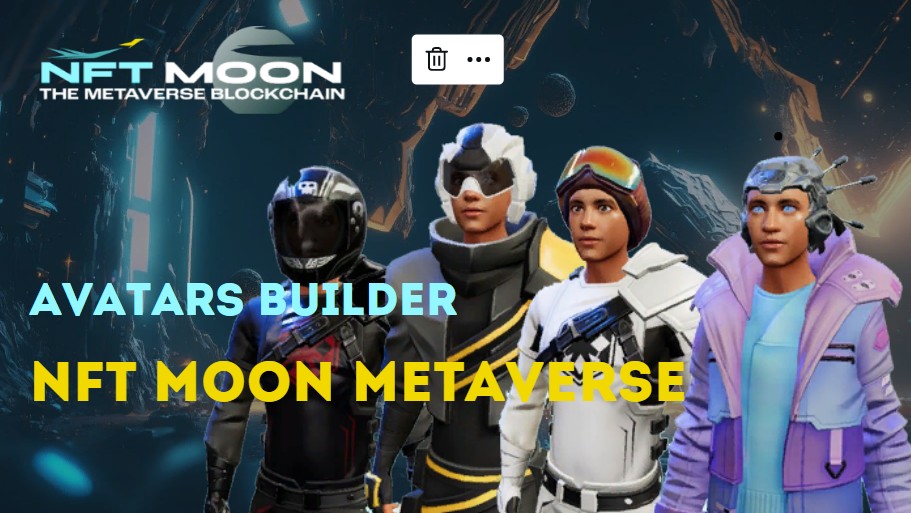
Creating an avatar using the NFT Moon Metaverse Constructor. #
Follow these steps to create your custom avatar using the designer:
1. Visit the website:
Open your preferred web browser (for example, Google Chrome, Mozilla Firefox or Safari) and follow the link
2. Click on the button in the menu “Create 3D avatar”:
As soon as you are on the site, you will see a button in the menu labeled “Create 3D avatar”. Click on it to start creating your own personalized avatar. Or follow the direct link: https://nftmoon.space/en/create-a-3d-avatar/
3. Take a selfie or upload a photo (optional):
If you want your avatar to look like your real appearance, you can either take a selfie or upload your photo from your device. This is an optional step, and you can skip it if you prefer to create your avatar from scratch.
– To take a selfie: Click on the camera icon and allow access to your device’s camera. Look directly into the camera to get a clear shot, and press the shutter button to take a picture.
– To upload a photo: click on the folder icon and select a well-lit photo in which you are looking at the camera from your device.
4. Customize your avatar:
By uploading a photo or skipping this step, you will see your avatar on the screen. You can choose the body type (male or female).Now you can customize various aspects of your avatar, such as facial features, eyes, hair, skin color, clothing, hats, accessories, and more.
– Use the right sidebar to select different categories: categories include facial features, hair, eyes, eyebrows, nose, mouth, glasses, etc. Click on each category to expand the available customization options.
– Use accessory icons for fine tuning: some customization options have sliders to adjust the size, position, or intensity of the avatar element. Be sure to test the various settings until you find the perfect match for the desired appearance.
– Choose different colors: you can change the color of hair, eyes, eyebrows and other elements according to your preferences. Use the color palette or choose one of the preset options.
5. View and save your avatar:
When you make changes to your avatar, you can see a preview in real time on the screen. Once you are satisfied with your custom avatar, click on the “Next” button in the upper right corner of the screen.
6. Select your platform (optional):
The builder supports various platforms and applications. You can choose one of the supported platforms or applications in which you want to use your avatar.This is an optional step, and you can skip it if you don’t have any specific platform in mind.
7. Get a link to your avatar:
After completing the configuration of your avatar, you will receive a unique link to your avatar. Click on the “Copy Link” button to save this link to your clipboard. Now you can share this link or upload your avatar to the desired platform or application.
Congratulations! You have successfully created your avatar using the constructor. Enjoy using it on a variety of compatible platforms and applications.


